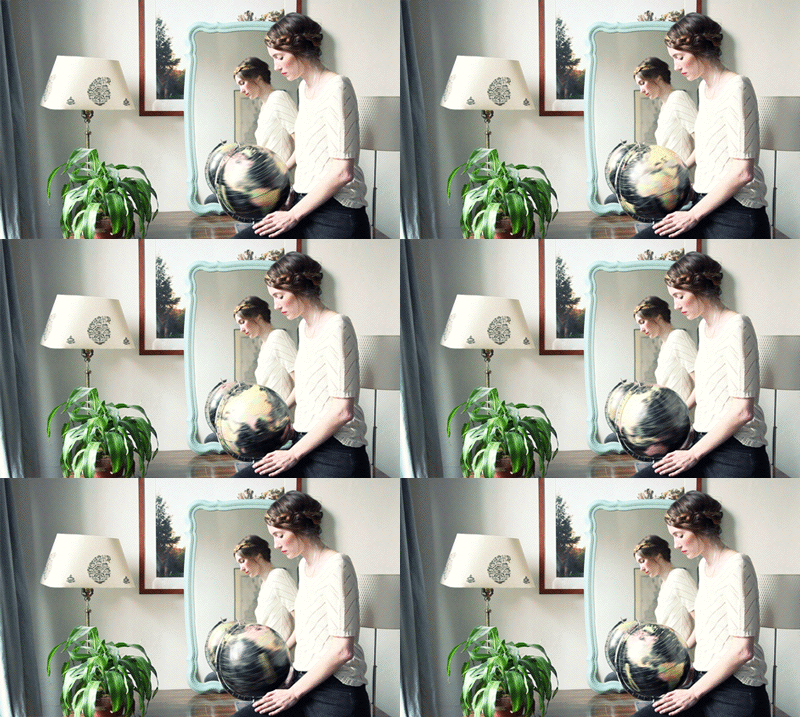
 I'm excited to share another hair tutorial! Heidi braids, which go across the top of your head, are beautiful, but my friend Caroline wears hers in a different way: like a crown circling around her head. What a breezy summer style! She looks like a Danish princess. So I invited her over to explain how to do them, and the wonderful Jamie Beck took photographs.
Here are Caroline's steps, if you'd like to try it out...


 1. First, part your hair into two sections. To make the look softer, I like to make a diagonal part in the front (starting sort of near the arch of my left eyebrow, going towards the middle of the crown) and then bring the part straight down the back.
2. Braid the two ponytails, and secure each with a small rubber band.
3. Make sure the tops of the braids are pretty loose (you don't want that part pulled too tight or you'll be able to see the part line going down the back).
4. Take the braid on the right and wrap it around the front. Wrap it low and loose near your front hairline (versus on the top of your head).
5. Pin the braid in place with bobby pins. I like to use mini ones, but if you have thick or unruly hair, bigger pins will work better.
6. Take the second braid and wrap it around the back. Again, I like to keep it low and loose so it sort of flows into the front braid.
7. Pin in place. If your hair is long enough, tuck the end of each braids behind the other braid (right where they meet) and pin to hold. Voila!
 What do you think, my darlings? These pretty braids are perfect for summer bike rides and taking photos around town. (Your hair stays out of your face, but you still look adorable.) Thank you so much, Caroline and Jamie. xoxo
P.S. Three past hair tutorials, including the perfect ponytail!
(Photos by the fabulous Jamie Beck for Cup of Jo. Caroline's jewelry is from her own line Brvtvs, and her lip color is NARS lipstick in Niagara. She also used this hairspray to make her hair shiny.)

No comments:
Post a Comment